From concept to physical prototypes
Idea Crafting 101
Now that we have a more defined idea on our table and not just on our mind anymore… It is time to give it a tridimensional physical form.
The goal here is to be able to visualize and have some interactions with our product, filling the gaps, colors, and details with our imagination. Exactly like kids sitting on the floor with cardboard boxes and a plate in their hands pretending they are driving a car! Imagination to fill those gaps is something that we can train like any other skill.
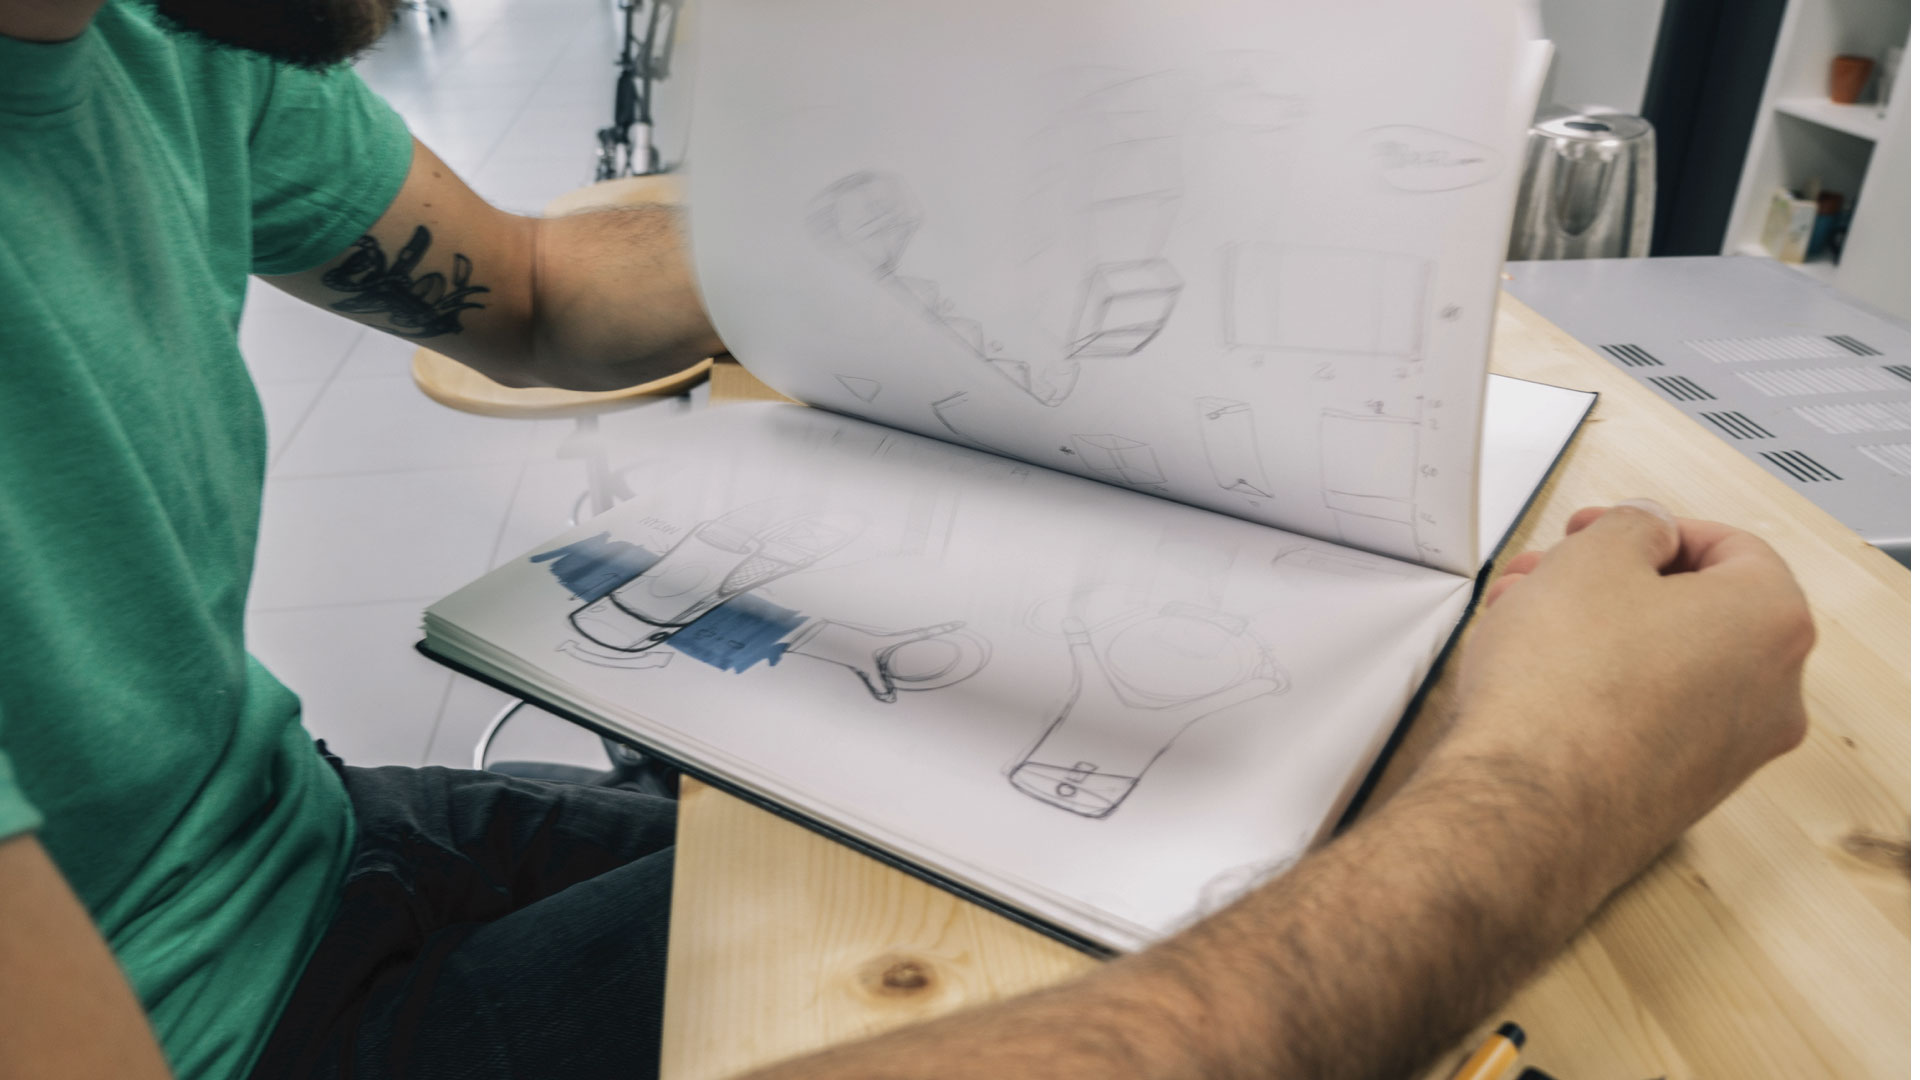
Mood boards and sketches are great. I think sketches are so pleasant and captivating because, on those fuzzy and blurry lines our brain can show us what we like more, select and close the gaps with the help of our imagination! I bet somewhere an engineer is already shaking his head while reading those lines above, pointing out that real products are not made with imagination and fuzzy lines…
That engineer is perfectly right, that is why from this step onwards I will focus fully on the physical and functional aspects of the product. If it isn’t clear already this is the part of the job I like the most! Half mad scientist and half designer, to do what I call the UHSRP (Ultra high-speed rapid prototyping :-).
Golden rules of UHSRP:
- SPEED over QUALITY: In this phase focus ONLY on speed, we will spend plenty of time to add quality later.
- FAIL FAST: Failure is a result. It is showing that the detailed solution is not working or requires more work. This is the phase where failing must be quick, cheap, and not compromise our motivation.
- FAIL FULLY: When failing, reach a dead end before doing changes on the go or even abandoning a prototype… otherwise, you will get a lot of random results, resulting in the loss of motivation.
- REPORT to the BASE: Document and report on a quick, but a detailed record of all your failures and achievements, this is crucial to have a memory of what works and what not!
- NO RULES: Without entering the absurdity sphere… challenge all common assumptions and any “state of the art” solutions. It might be the only way to innovate!
Different levels of detail for different stages of the development.
- Study models: When studying chemistry I used the models to represent molecules, this is the same level of representation! You can use legos, sticky notes to simulate apps, paper shapes, literally anything that helps you visualize your ideas and eventually explain them to your peers.
- POC: Proof of concept, it is literally the bare minimum that can demonstrate your assumptions, this can and should represent a single part of the functionality. Here we can and should be extremely rough and focus on being quick and effective.
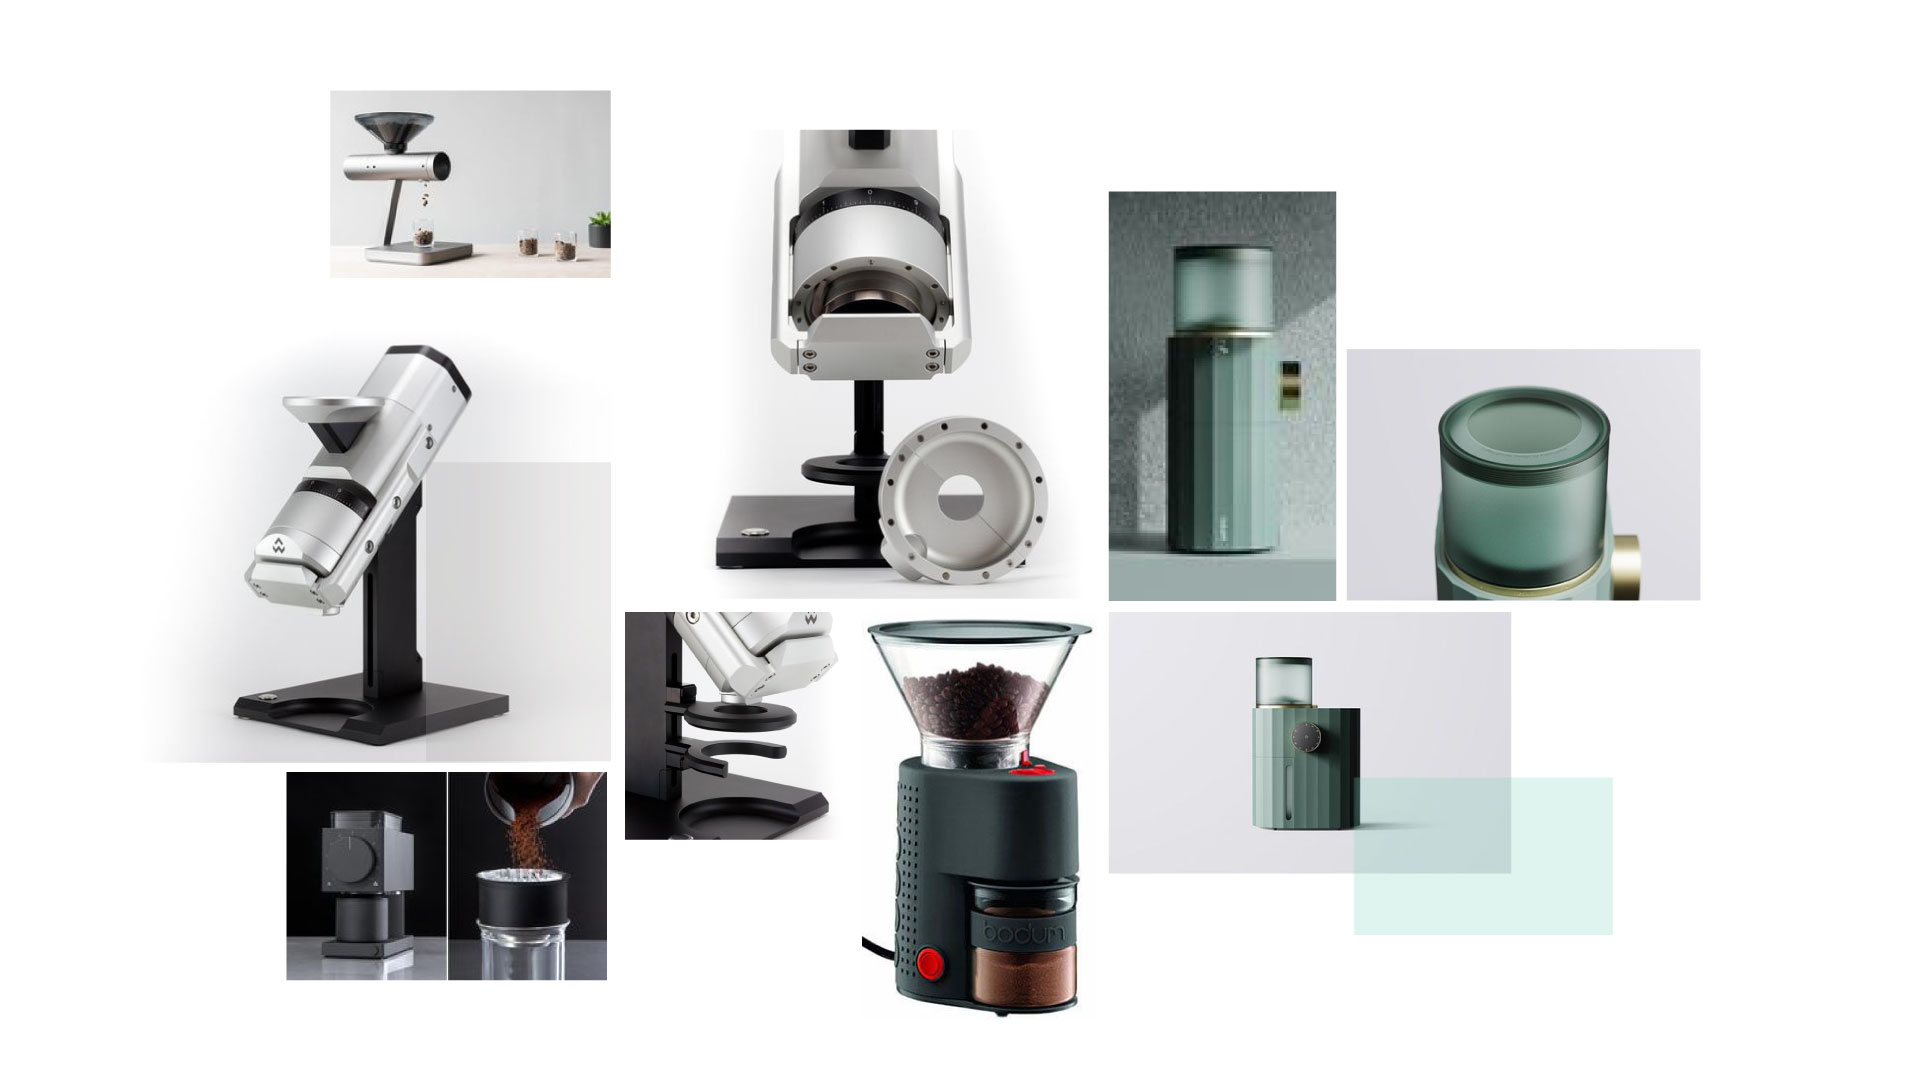
- Mockup: The mockup is the classic “looks like a product!”, but it just does not have the functionality. For digital products it is the bread and butter, for physical products it can be seen as “old school”. This model must look like the real product. It should represent the final product in all the details: design, material finishes, weight and of course dimensions. It is completely OK to outsource the manufacturing of this to a professional model maker.
- MVP: Minimum Viable Product, this is a fully functional prototype that can be showcased and given to users for testing (without exploding or causing injuries). The look, finishings and dimensions can be compromised. Technologies and materials will be most likely different from the final product as well. What matters the most is to achieve the “core” functionality and be sure they are on point, this is also the time to cut any “frills, bells and whistles” that could make time or costs levitate.
- Final prototype: Final prototype or pre production prototype must work and represent the final product to the fullest. Material finishings, weight, design, dimensions and functionality need to be realistic. Some technologies can be “simulated” for instance forging of metal parts > CNC parts; 3D printing for the injection molded components. The only NOT realistic variable will be the price, be ready to spend up to 10 or 20X the manufacturing cost you expect for full production. This final prototype can be avoided sometimes, but it is still strongly recommended.
The value of making your own prototypes
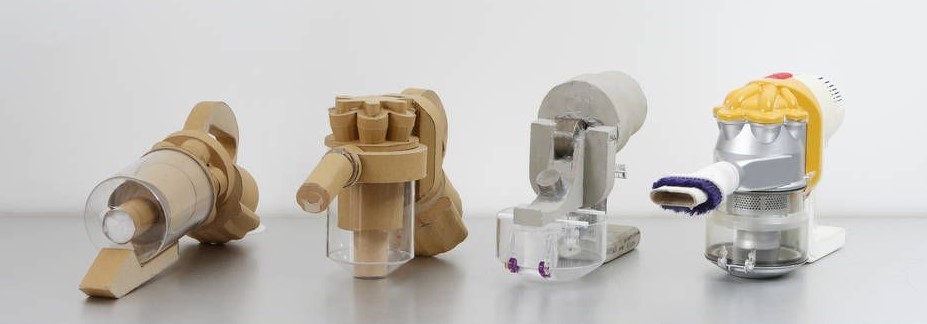
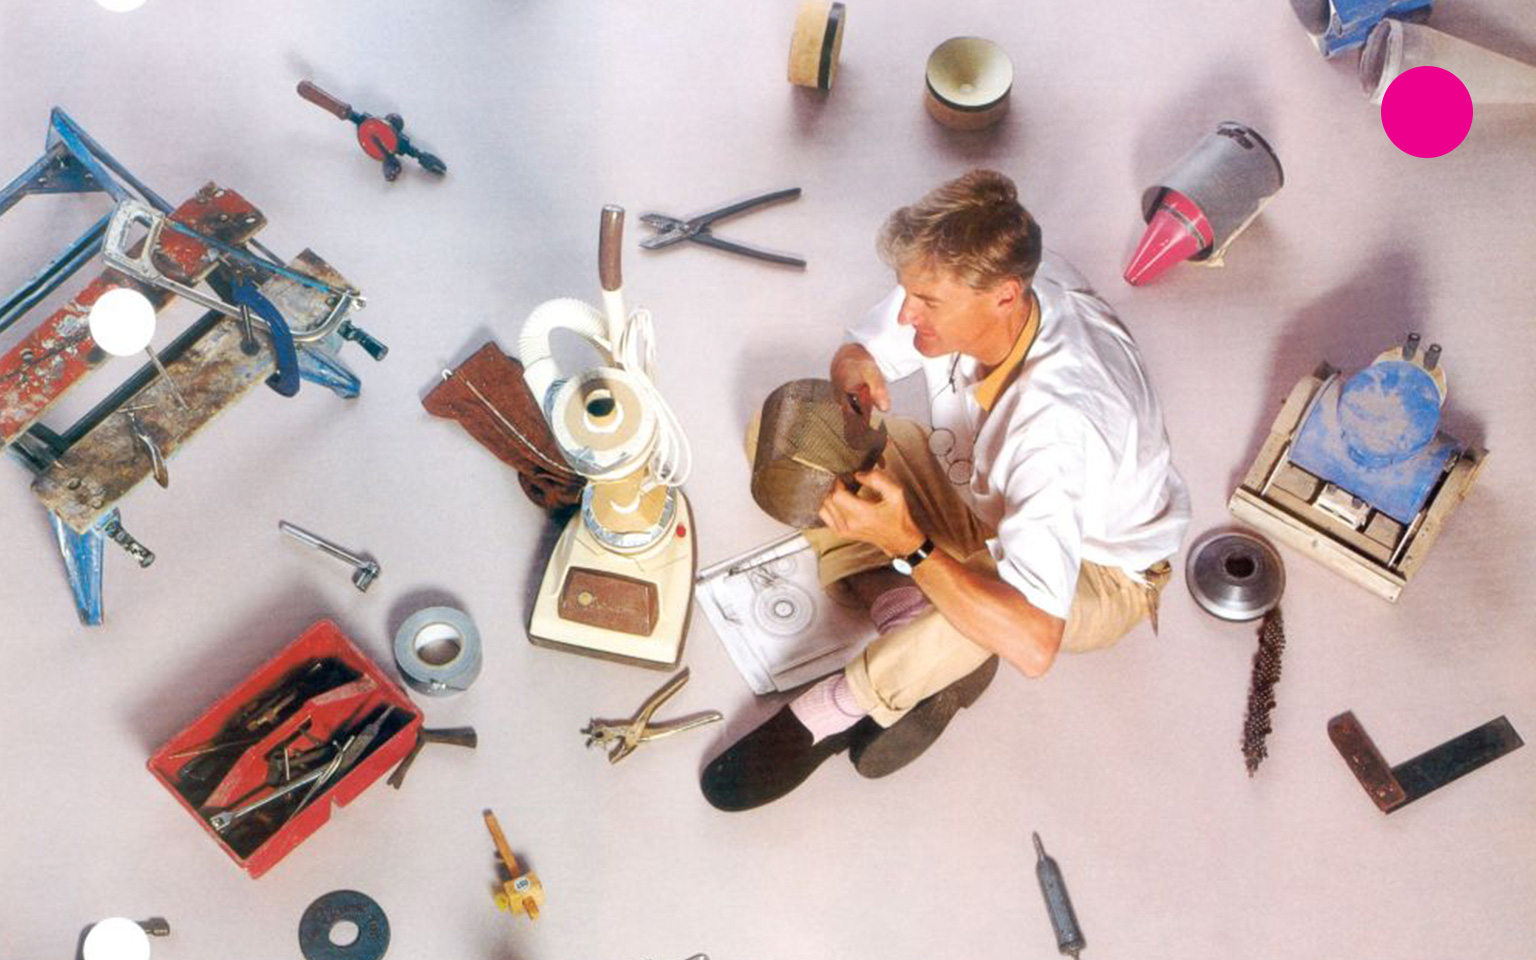
If you have the chance to put in the sweat and time to manufacture your models and prototypes it will pay off. Depending on how skilled and fast you are on your development you could achieve some amazing results. For example, Sir James Dyson is not only a proponent of inhouse prototyping, he actually established a pretty successful company where this process is a MUST and taken to some pretty extreme extent.
"I made 5127 prototypes of my vacuum before I got it right. There were 5126 failures. But I learned from each of one. That's how I came up with a solution. So I don't mind failure."
Sir. James Dyson
What if I don’t have the inhouse capabilities? How to outsource this prototype fever? Can we not just 3D print the whole damn thing?
(Well if I haven’t persuaded you on making your own prototype yet, good news! )
If you are lacking the internal capabilities to develop a specific product, or for instance, you just want to outsource the development of a new product, it is possible to achieve great results if you choose the right partner. The caveat here is to find a design studio that has internal capabilities to manufacture and deliver at least study models and MVP, if technologically possible even provide a POC. On the other side for mockups and final prototypes, outsourcing can be a very smart choice to save time and achieve the best results.
Regarding 3D printing, I’m a great proponent of the technology's capabilities. I've been part of the 3D printing community for over 10 years and went as far as building my own 3D printers to fit some specific needs. But, you can’t print everything, there is no meaning in printing a part that would need to be made of bended metal, or that requires specific materials used. Actually there are some parts that can be done with many other low investment technologies for a fraction of the cost and time of a 3D printed part. Be mindful and smart on how to make the best out of all the great technologies out there.
You actually can outsource the prototyping! Especially for mockups and final prototypes, it can be a very smart choice to save time and get great results. The only caveat here is that you will need to provide very specific design material like 3D models, technical drawings, and documentation. Any unspecified requirement could easily lead to unfinished products and a waste of time and money.
For study models, MVP and POC I strongly recommend to your development team to dedicate time to manufacture and experiment on those prototypes. If you decide to outsource the whole design development, I would pretend that your selected design partner will take care of realizing all the models and prototype iterations, as we do.
My personal selection of technologies and materials for prototyping.
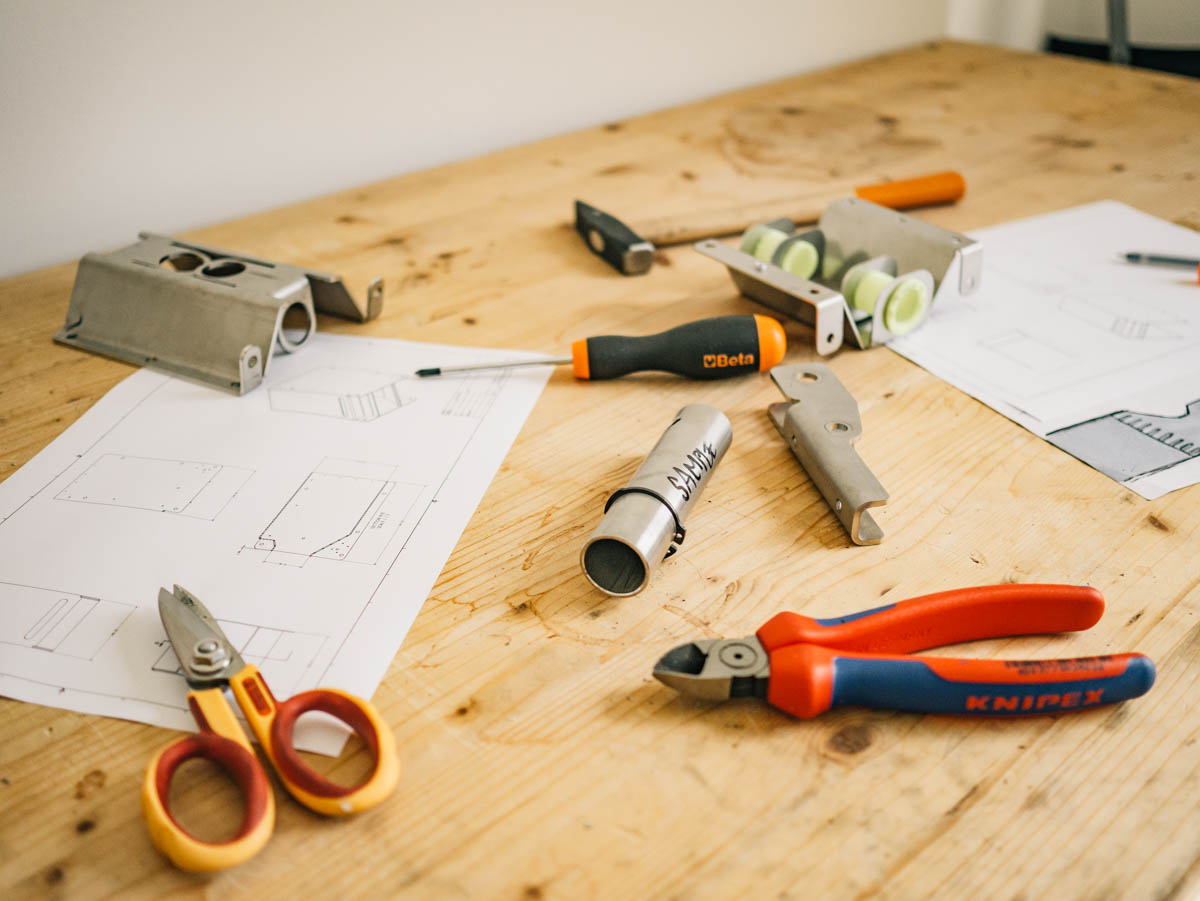
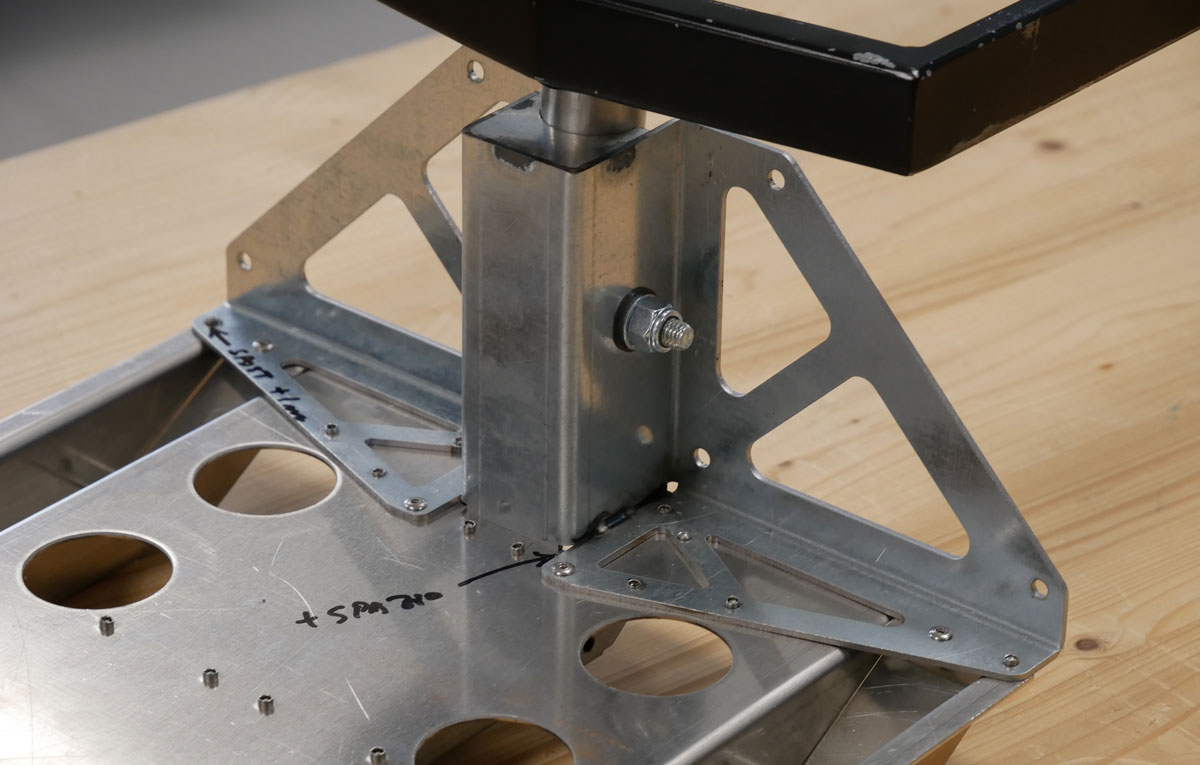
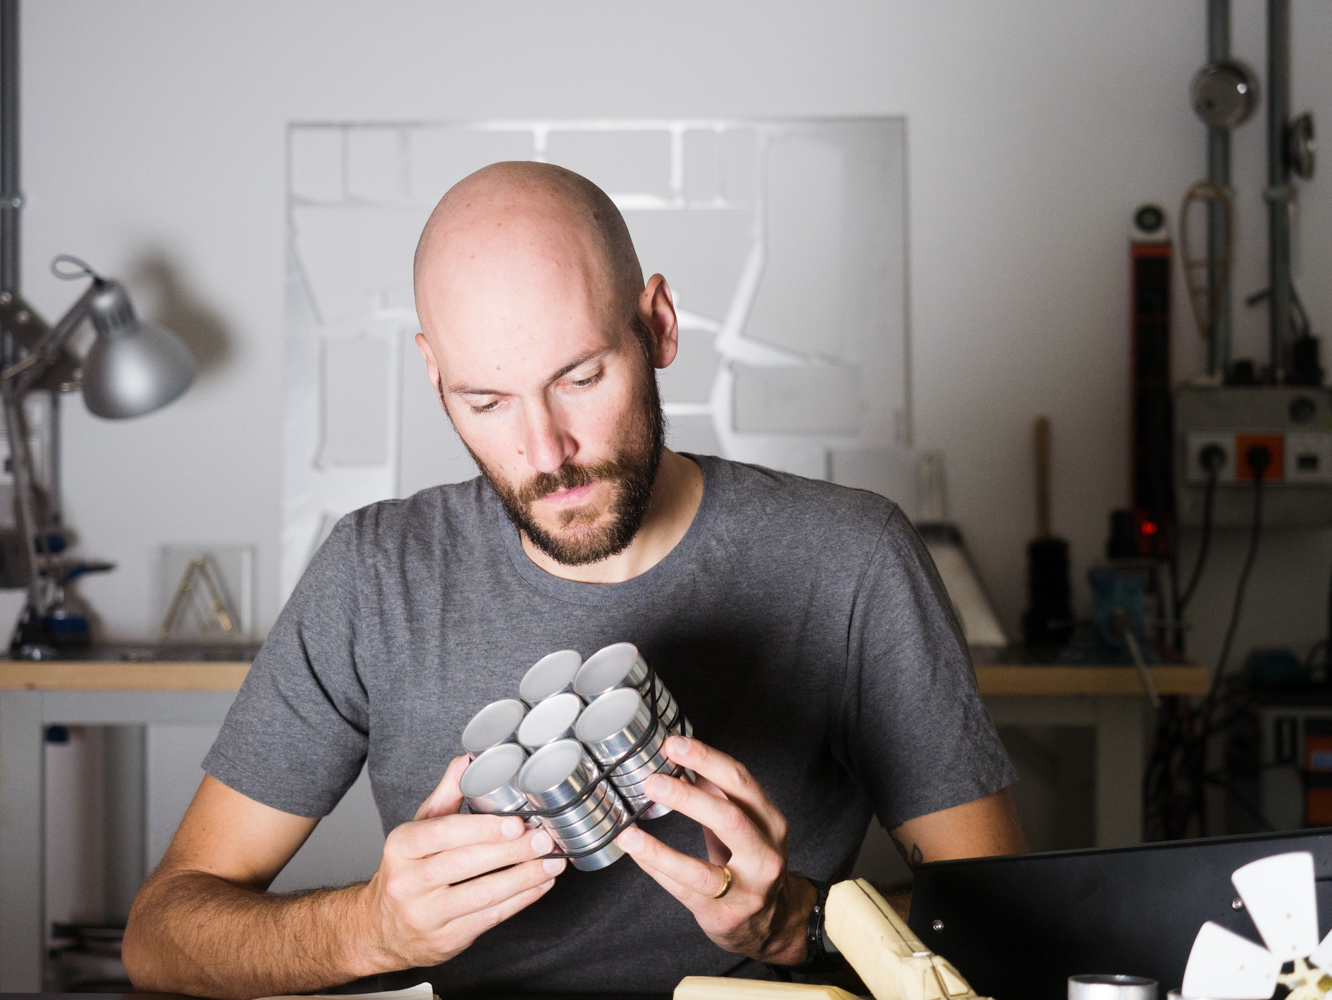
My background as a chemist gave me a strong foothold on material selection and research for new technologies. When prototyping I adopt multiple technologies, but most of them require no or extremely limited investment in tools and avoid wasting material. Well before graduating in Industrial Design, I had my own workshop, the collection of tools and skills slowly but steadily grew, and now in our office workshop, we keep on selecting and adding new technologies.
We have ready most of the tools required to work with model-making materials like cardboard, plywood, sheet metal, Plexiglas, and carbon fiber composite materials. The goal is to have the capabilities to create and work on models, but especially to assemble, modify and test full POC and MVP.
For some technologies, we rely on a Makerspace, where we have direct access to technologies like laser-cut, PCB milling, electronics welding, waterjet, CNC machining, metal bending, lathing, and TIG/MIG welding.
For any other technology or larger and complex parts, we have a network of trusted manufacturing partners in Italy able to manufacture everything we design.
I find that with this hybrid solution, we can provide the best variety of technologies and materials to our customers, without overloading the office structure, causing an inevitable growth in costs for the customer.
An examples of a disruptive prototype.
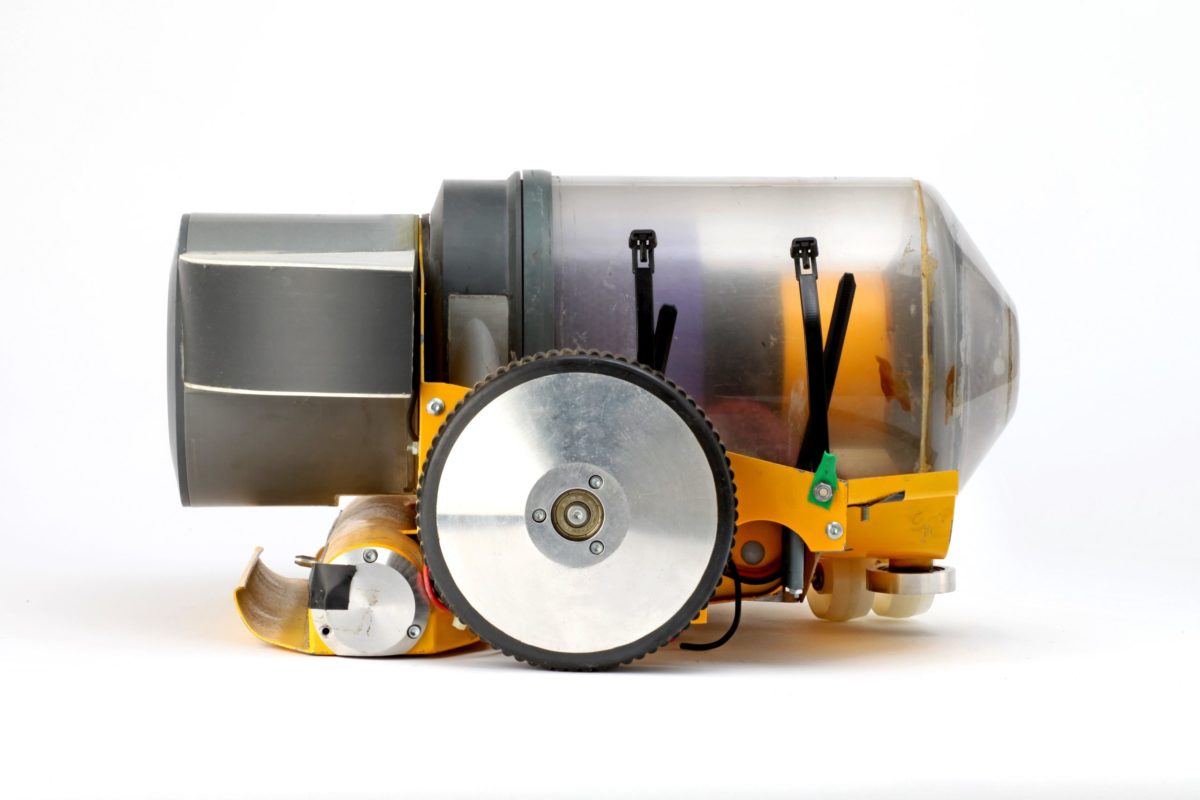
Throwing back to Sir. James Dyson, this is a picture of one of the 5127 prototypes he made over three years during the development of his first Cyclone vacuum cleaner. (All the pictures containing images of any James Dyson prototype are of public domain from the James Dyson Online Archive.)
Conclusions:
If you read this far, you definitely are a curious person, thank you for taking the time. I hope this was well spent time for you, please feel free to reach out.
The method and philosophy applied by Sir. James Dyson truly resonates with my idea of the design approach. I find great inspiration in his work and I recommend, anyone who is interested in digging deeper follow some readings and resources below.
In one of the most intense episodes of the Tim Ferris Show, Tim does dig very deep into Sir. James Dyson's approach to innovation and Design. Sir James Dyson is responding with the candor and humble spirit that you would not expect from the "richest man of The United Kingdom (2021) "
Invention: A life - James Dyson
The inventor and entrepreneur that it made it all happen, against all the odds, a truly exciting and inspiring record of most of his inventions.
Every tool a hammer - Adam Savage
Adam Savage is a true "rock star" of the maker movement, with this publication he finally shares his vision and approach to the wonderful work of making stuff, sure source of inspiration! You can find even more on his great youtube channel: TESTED
In this weekend read James truly inspired me on dropping my smartphone and run make something with my hands! Totally recommended for a boost of inspiration!
 andreasignoretto.com